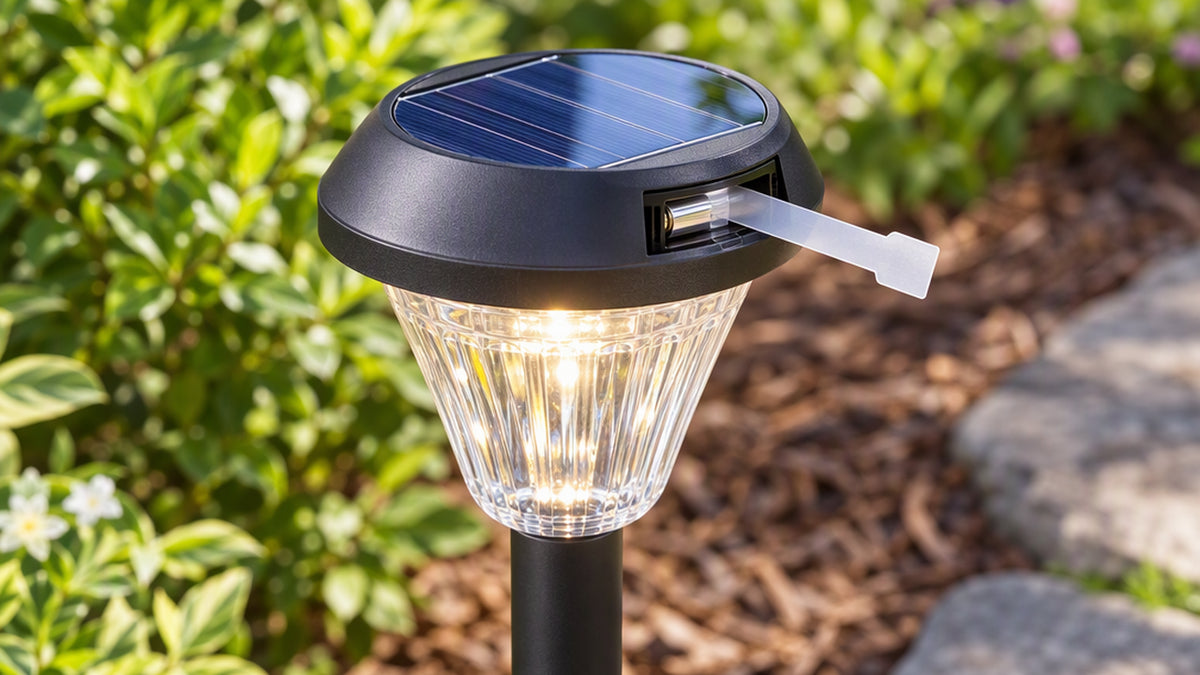
Few things are more frustrating than setting up solar lights in the yard, only to find them dark by the time the sun goes down. The good news is that most solar lights that seem broken are actually dealing with a simple issue: a leftover plastic tab, a dirty panel, a tired battery or a spot that does not get enough sun. Work through the checks below in order and there is a good chance your lights will come back to life without a replacement.
How Solar Lights Work (in 30 Seconds)
A small solar panel on top of the light collects sunlight during the day and charges a rechargeable battery. A light sensor detects when it gets dark, turns the LED on, and turns it off again at dawn. Anything that interrupts that cycle, whether it is the panel, the battery, the switch or the sensor, can keep the light from coming on.
1. Remove the Plastic Tab
Many new solar lights ship with a small plastic strip or tab that keeps the battery from draining in transit. If it is still in place, the battery cannot charge. Check under the cover or at the battery compartment and pull it out before the first charge. Our 34 inch hanging solar lanterns instructions specifically say to remove the plastic tab on the light cover before charging.
2. Turn the Switch On
It sounds obvious, but many solar lights have an on/off switch near the battery. Make sure it is set to on, and check whether there is a separate mode setting. Some lights need to be switched on while in the light to start charging.
3. Clean the Solar Panel
Dust, pollen, bird droppings and water spots can block the sunlight the panel needs. Wipe the panel with a soft damp cloth and mild soap, then dry it. Do not use abrasive pads that could scratch the surface. A quick clean every month or so keeps charging steady.
4. Check the Placement
Solar lights need direct sunlight, not just bright shade. Move the lights away from trees, eaves, fences and walls that cast shadows during the day. Aim for a spot with several hours of unobstructed sun. The hanging lantern instructions above recommend placing the stake in soft ground in direct sunlight and allowing the panel to absorb sun for around 8 hours.
Also check what is nearby at night. Porch lights, street lamps and security lights can fool the sensor into thinking it is still daytime, so the solar light will not turn on.
5. Test the Sensor
To check that the light sensor is working, cover the solar panel with your hand or a dark cloth during the day. If the light comes on, the unit is functioning, and the issue is usually charging or placement. If it does not light up, move to the battery check below. The product notes for our lanterns suggest this exact test and say that if the light does not come on, you should reset the battery or allow at least three days and nights of charging and discharging for the battery to reach full capacity.
6. Replace or Reset the Battery
Rechargeable batteries wear out over time, typically after a year or two of regular use. Open the battery compartment, check for corrosion, and swap in a fresh rechargeable battery of the same type and size. Use the type listed in your product details; for example, the lantern listing above specifies an AA Ni-MH rechargeable battery. Do not use a standard non-rechargeable battery, as it will not charge properly.
7. Give It Time
After a cloudy week, a long stretch of rain or a move to a new location, solar lights often need a few full sunny days to recover. Charging and working time change with the weather. If you installed them in late fall or winter, shorter days mean shorter run times. Our guide on how solar lights perform in winter explains what to expect.
Set Realistic Expectations for Brightness
Some solar lights are designed for gentle accent lighting and not for lighting up an entire yard. For example, the hanging lanterns above are described as 4 lumens and designed mainly for decoration, so they provide a soft glow instead of a floodlight effect. If you need brighter coverage, plan to use more lights or choose a style intended for paths. Our article on how many lumens you need for solar landscape lights can help you choose.
Quick Troubleshooting Checklist
- Plastic tab removed
- Switch turned on
- Panel clean and unscratched
- Lights in direct sun for most of the day
- No other lights nearby confusing the sensor
- Battery fresh and the correct rechargeable type
- At least a few sunny days of charging
When It Is Time to Replace
If you have tried all of the above and the light still does not come on, or it is cracked, water-damaged or has a corroded battery compartment, replacement is the next step. Lights that are several years old may simply be at the end of their life.
Looking for a lighting upgrade for the garden or path? Our 12 pack solar pathway lights are described as running on free solar energy with no electricity required, and they come on automatically at night. Stock on that item is limited, so check availability before you plan a big project.
Find the Right Solar Lights for Your Yard
Whether you are replacing a few worn-out lights or planning a new path, you can browse our full selection of outdoor and solar lights. A little regular cleaning and good placement will help whatever you choose last longer and shine brighter.