
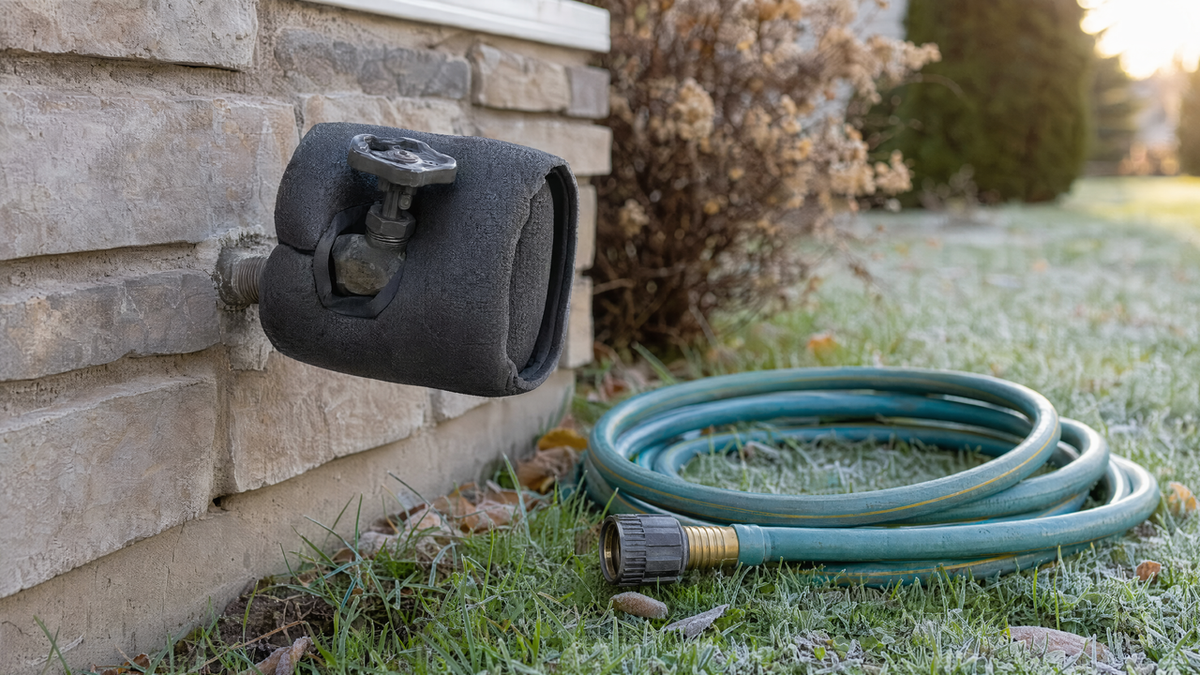
A frozen outdoor spigot rarely fails while it is frozen. It fails during the thaw, when the split pipe behind the wall finally has liquid water running through it again, usually into a basement ceiling or a finished wall cavity. That is why this job is worth doing properly in the fall rather than reacting in the spring.
The whole process takes about twenty minutes per faucet, and most of it is just doing things in the right order.
When to do it
The trigger is your first hard freeze forecast, not the calendar. A hard freeze means several consecutive hours below 28°F (roughly -2°C). A single overnight dip to 31°F will not usually burst anything, but the first sustained freeze can.
Across most of the northern United States that arrives somewhere between mid-October and mid-November. In the transition zone it can be December. Watch the ten-day forecast in October and act when you see the first cluster of sub-freezing nights, rather than waiting for the storm that actually causes damage.
If you get an unexpected early cold snap before you have winterized, at minimum go outside and disconnect every hose. That one action prevents the majority of freeze failures.
Step 1: Disconnect every hose
This is the single most important step, and it is the one people skip.
A hose left attached to a spigot traps water in the faucet body. When that water freezes and expands, it has nowhere to go but into the valve and the pipe behind it. Frost-free spigots are especially vulnerable here, because their whole design depends on being able to drain forward through the open end. A connected hose blocks that drain path and defeats the frost protection entirely.
Walk the whole property. Front spigot, back spigot, garage, the one behind the shed you forgot about. Disconnect splitters and timers too, not just hoses.
Step 2: Shut off the interior supply valve
Most homes have a dedicated shutoff for each outdoor spigot, usually on the interior side of the wall the spigot passes through. Check the basement ceiling near the exterior wall, a crawlspace, or inside a utility closet. It will typically be a small gate valve or ball valve on a branch line.
Close it fully. Then go outside, open the spigot all the way, and leave it open. Water in the section between the closed valve and the open faucet will drain out. Leave the outdoor faucet in the open position all winter so any residual moisture has somewhere to expand.
Back inside, look for a small bleeder cap or drain screw on the shutoff valve body. Put a cup under it, open it, let the trapped water in the line drain, then close it again.
Step 3: If you have no interior shutoff
Older houses and many southern-built homes have no dedicated interior valve. In that case, look at what kind of spigot you have.
Frost-free sillcock: These have a long body, and the actual valve seat sits eight to twelve inches inside the heated wall. If yours is frost-free and pitched slightly downward, disconnecting the hose and leaving the handle closed is usually sufficient. You can tell it is frost-free by the length, and by the fact that when you shut it off, water keeps draining from the spout for a few seconds afterward.
Standard sillcock: A short body where the valve is right at the wall. These need an insulated faucet cover, and in severe climates they really need an interior shutoff added. A foam dome cover costs a few dollars and buys meaningful protection.
An easy upgrade in either case is fitting a solid brass shut-off valve at the hose connection. It gives you a second point of control and makes seasonal draining simpler, though it does not replace a proper interior valve.
Step 4: Drain and store the hoses
Water left inside a coiled hose freezes, expands, and works the reinforcing layers apart. A hose that has been through two or three freeze cycles full of water is usually the hose that starts splitting the following July.
To drain properly, stretch the hose out downhill or over a fence rail and walk it from one end to the other, pushing water ahead of you. Then coil it loosely, not tightly, and store it somewhere that stays above freezing. A garage is fine. A shed usually is not.
Coil size matters more than people expect. Tight coils create permanent kinks at the bend points, and kinked spots are where hoses fail. Aim for loops at least two feet across.
Step 5: Deal with the small brass parts
Splitters, quick connects, timers, and nozzles all hold small volumes of water in places that freeze hard and crack quietly. Brass survives this better than plastic, but even brass fittings can have their internal seals destroyed.
Take them off, shake them out, and bring them inside. This is also the ideal moment to sort out anything that annoyed you all summer. If a four-way brass hose splitter would have saved you constantly swapping between a sprinkler and a watering hose, buy it now while it is on the shelf rather than in April when everyone else is shopping.
Give rubber washers a quick look while you are at it. Any that have gone flat, hard, or cracked should be replaced. Fresh washers are the cheapest leak prevention there is, and they are much easier to fit at a kitchen table than crouched over a spigot in March. Replacement washers, connectors, and valves are all in our garden watering and hose fittings collection.
Step 6: Do not forget irrigation and drip lines
If you run drip irrigation or soaker hoses, those need draining too. Open the end caps, let them empty, and either coil them and store them or leave them in place with the caps off so nothing can pool inside.
In-ground sprinkler systems are a different job entirely. Those generally need to be blown out with compressed air, and unless you own a large enough compressor, that is worth paying a professional for. An improperly blown-out system can crack manifolds and valve bodies that cost far more than the service call.
What spring looks like if you did this right
In spring, close the outdoor spigot handle first, then slowly open the interior valve while someone watches the pipe for leaks. Opening the interior valve with the spigot already open sends a pressure surge through the line and makes it much harder to spot a slow leak before it becomes a wet ceiling.
Reconnect fittings, check the washers, and you are back in business in about five minutes.
Getting ready for the shutdown? Stock up on brass shut-off valves, quick connectors, splitters, and replacement washers in our Garden Watering & Hose Fittings collection.