
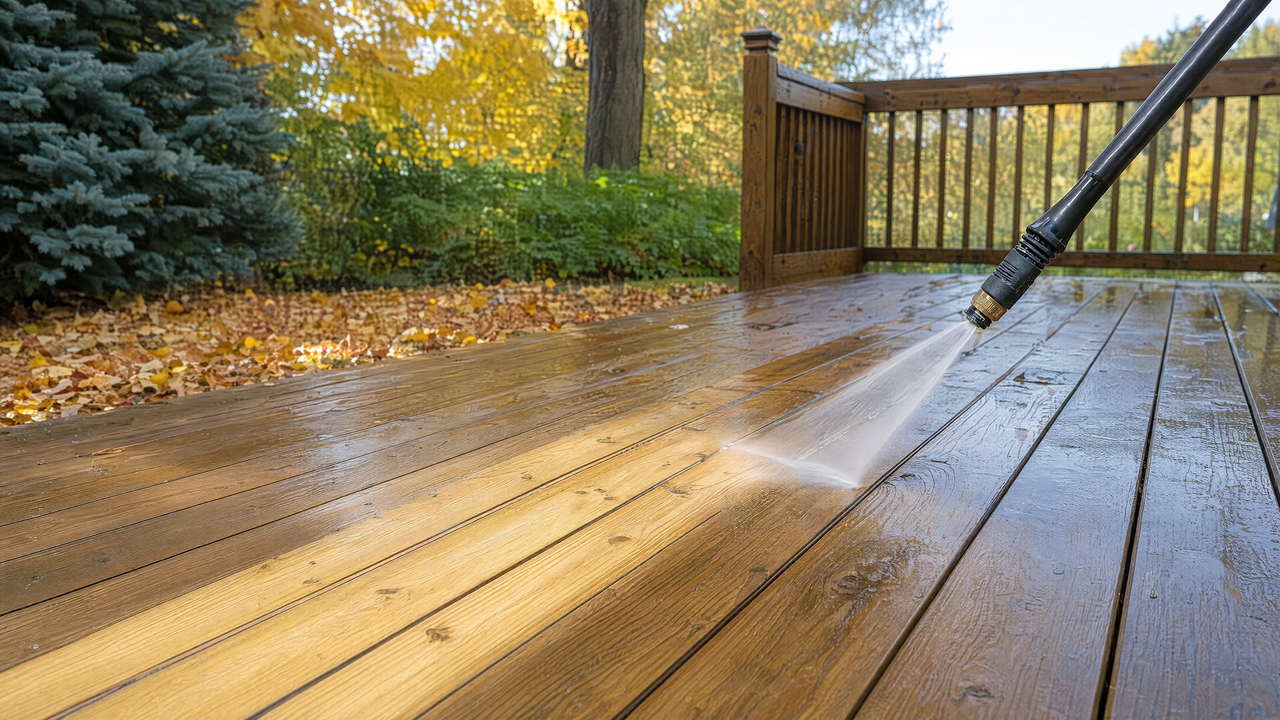
Fall is the best window of the year for staining a deck. The wood has dried out from summer, the air is cool enough that stain doesn't flash-dry on contact, and you'd rather do it now than discover in April that another winter has taken its toll.
But the prep is where deck jobs are won or lost. Pressure washing gets a deck genuinely clean in a way scrubbing never will — and it's also the fastest way to permanently wreck the boards if you go in with the wrong tip and too much confidence. Here's how to do it right.
What you're trying to remove
A deck that's been through a season has three things on it: surface dirt and pollen, a gray weathered layer of oxidized wood fiber, and often a film of mildew in the shaded sections. Stain won't bond to any of them. That's why a deck stained over an unwashed surface starts peeling within a year.
You're not trying to strip the deck down to fresh timber. You're removing the loose gray layer and the grime so the stain can soak into sound wood.
Pick your settings before you pull the trigger
Pressure
For softwoods — pine, cedar, most pressure-treated lumber — stay in the 500 to 800 PSI range. Hardwoods like ipe can take 1,200 to 1,500. If your machine has no pressure adjustment, you control it with distance and nozzle choice instead.
Nozzle
This is the decision that matters most. Use a white 40-degree tip for the whole job, or a green 25-degree if the deck is genuinely filthy and you're confident with the wand. Never use the yellow 15-degree or the red 0-degree on wood — the red tip will carve a visible trench in a cedar board in under a second, and that damage is permanent.
A complete tip set means you always have the right one on hand rather than making do; a five-piece nozzle tip set covers the soap tip plus every spray angle you'd want.
A rotating surface cleaner, if you have one
For large flat decks, a surface cleaner attachment gives far more even results than a wand, because it holds a constant height and sweeps at a constant rate. It eliminates the wand-stripe problem entirely. Worth borrowing if you can.
The technique
Four rules, and the whole job follows from them.
- Test in a hidden spot first. Behind a planter, under a step. Find your working distance before you touch the visible field.
- Start 18 inches away and move closer. Only close the gap until the dirt lifts — usually somewhere around 8 to 12 inches. Closer than 6 inches on softwood is asking for damage.
- Follow the grain, board by board. Work the length of a single board from one end to the other in a continuous pass. Don't sweep across multiple boards — that's what creates the striped, blotchy look.
- Keep the wand moving and overlap each pass. Stopping in place, even briefly, puts a mark there. Overlap about a third of your previous pass to avoid missed lines.
A word on posture: it's hard to hold a consistent distance while stretching. Move your feet instead of extending your reach. A longer hose helps a lot here — a 25-foot wire-braided pressure washer hose lets you cover a typical deck without repositioning the machine every few minutes.
Use a deck cleaner first
Detergent does the work that pressure otherwise has to do, which means less pressure and less risk. Apply an oxygen-bleach-based deck cleaner with the black soap nozzle at low pressure, let it dwell 10 to 15 minutes without drying out (mist it if it starts to), then rinse with the 40-degree tip.
Skip chlorine bleach. It damages wood fibers, kills nearby plants, and corrodes fasteners. Oxygen bleach handles mildew without any of that.
Wet down surrounding plants before you start and rinse them again after — dilution is what protects them.
Prep before you start
- Clear everything off the deck. Furniture, grill, planters, rugs.
- Sweep debris out from between the boards.
- Hammer down or replace popped nails and loose screws — the spray will find them.
- Cover nearby light fixtures and outlets.
- Check the water inlet screen on your machine; grit is what kills pumps.
Now wait. Really wait.
This is where good work gets undone. Pressure washing drives a lot of water into the wood, and stain applied to damp wood won't penetrate — it sits on top, then peels.
Give the deck 48 to 72 hours of dry weather before staining. In cool, humid fall conditions, lean toward 72. The classic test: sprinkle a few drops of water on a board. If they bead up, the wood is still saturated. If they soak in within a few seconds, you're ready.
While you wait, run your hand over a few boards. Pressure washing raises the grain slightly and leaves a fuzzy texture on softwoods. A light sanding with 60- to 80-grit on a pole sander knocks that down and makes a noticeable difference in how the finished stain feels and looks. It's an hour of work that separates a good job from a great one.
Common mistakes
- Too small a spray angle. The single most common cause of ruined boards.
- Working too close. Damage happens fast and doesn't sand out.
- Sweeping across the boards instead of along them.
- Staining too soon. Patience here saves you redoing the whole deck next year.
- Ignoring the railings. Vertical surfaces are more delicate — back off the pressure and increase your distance.
Worth the afternoon
A properly washed, properly dried, lightly sanded deck takes stain evenly and holds it for years rather than months. It's one afternoon of prep protecting a job you'd otherwise be repeating.
Getting set up for the project? Our pressure washer parts and accessories collection carries nozzle tip sets, hoses, quick-connect adapters and replacement O-rings so you're not stopping mid-job for a part.