
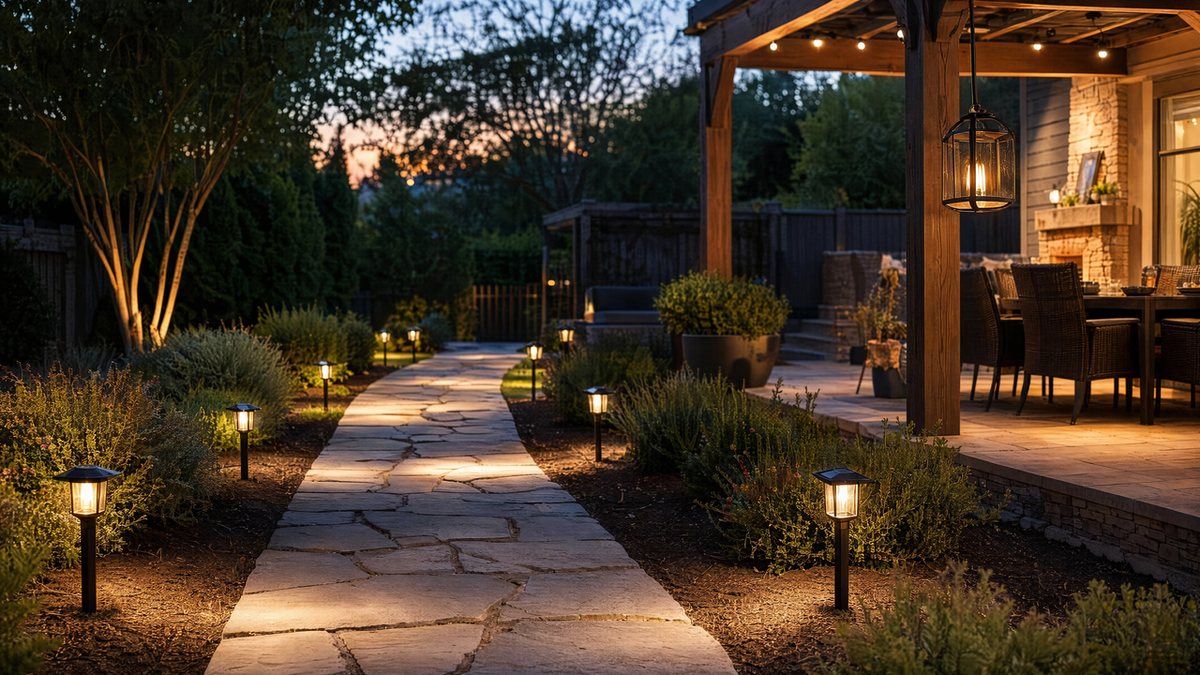
People rarely buy solar lights again after a bad first experience, and the usual verdict is that the lights were cheap or the batteries were weak. Sometimes that's true. More often the lights were installed in the wrong place — too far apart to read as a path, too close to a shade tree to charge, or aimed at nothing in particular.
Solar lighting is unusually sensitive to placement because each fixture is its own self-contained power system. There's no transformer compensating for a bad spot. Get the layout right and inexpensive lights look expensive. Get it wrong and expensive lights look broken.
Start with the sun, not the design
Before deciding where lights should look good, find out where they can actually charge. Spend one clear day noting which parts of your yard get direct sun, and for how long.
A rough guide: most solar fixtures need 6 to 8 hours of direct sun for a full night's run. Four hours gets you a dim glow that quits around midnight. Two hours of dappled light through a maple canopy gets you almost nothing.
Three things quietly ruin charging that people forget to check:
- Seasonal shade. A spot that's blazing in July may sit in the shadow of your house by late October, when the sun tracks lower. Walk the yard again in fall before committing to permanent placements.
- Nearby porch and street lights. Many solar fixtures switch on using the same panel that charges them. A porch light shining on the panel can convince it that it's still daytime.
- Dirty panels. A film of pollen or dust cuts charging noticeably. A wipe with a damp cloth every few weeks makes a real difference.
Path light spacing: how far apart is right
The most common mistake is spacing path lights like fence posts — evenly, and far too far apart, so you get a row of isolated glowing dots rather than a lit walkway.
Practical spacing depends on what you want the lights to do:
- To actually light a walking surface: 4 to 6 feet apart. The pools of light should just touch or slightly overlap.
- To mark an edge or suggest a route: 6 to 8 feet. Gaps are fine here — the eye connects them.
- Along a driveway: 8 to 10 feet, staggered on alternating sides rather than in matched pairs. Staggering uses fewer fixtures and looks less like an airport runway.
Two placement details that matter more than spacing
Set path lights 8 to 12 inches back from the edge of the walkway, not right against it. Too close and you'll clip them with a mower or a wheelbarrow; too far and they light the lawn instead of the path.
And keep them level. A stake that's leaning 15 degrees throws its light sideways and looks careless. Check them each spring after the ground thaws and settles.
Where hanging lanterns beat stake lights
Path lights push light down onto a surface. Hanging lanterns do something different — they put a visible light source at eye level, which is what makes a yard feel furnished rather than merely illuminated.
Good places for hanging solar lights:
- Flanking a seating area, two lanterns roughly 8 to 10 feet apart, to define the space without a table lamp's glare.
- At a transition point — the top of a set of steps, a gate, the corner where a path turns — where a taller light reads as a landmark.
- In garden beds, on shepherd hooks set among plantings, so light filters through foliage.
Freestanding sets like these 34-inch hanging solar lanterns with shepherd hooks are useful precisely because you can move them. Place them, live with the arrangement for a week, and shift them if the layout isn't working. There's no trenching to undo. The rest of the range is in Outdoor & Solar Lights.
Layering: the part most yards skip
A yard lit entirely with path lights looks flat, because every light is at the same height doing the same job. Designers think in three layers, and you can copy the approach with inexpensive fixtures:
- Ground level — wayfinding. Path and step lights. Functional, low, evenly spaced.
- Eye level — atmosphere. Lanterns on hooks, lights on posts and railings. This is the layer that makes people say a yard feels warm.
- Overhead — the ceiling. String lights across a patio or wrapped through branches. Overhead light is what turns an outdoor area into a room.
You don't need all three everywhere. Most yards look best with two layers in the main gathering area and one along the approach. If you're adding the overhead layer, String Lights & Fairy Lights covers both solar and plug-in options depending on whether you have an outlet nearby.
A quick fall placement check
As days shorten, solar lights get less charge and are asked to run longer. Before the clocks change, it's worth a short walk around the yard:
- Wipe every panel clean.
- Move any fixture that's now sitting in afternoon shadow.
- Straighten anything that's tilted since spring.
- Switch fixtures with a brightness setting to the lower mode — it stretches a smaller charge across a longer night.
Ten minutes of this usually restores lights that seemed to be failing.
Lighting your yard this season
Start by mapping your sun, space path lights close enough to overlap, and add one eye-level layer where people gather. Browse stake lights, lanterns and hooks in Outdoor & Solar Lights to put the plan together.