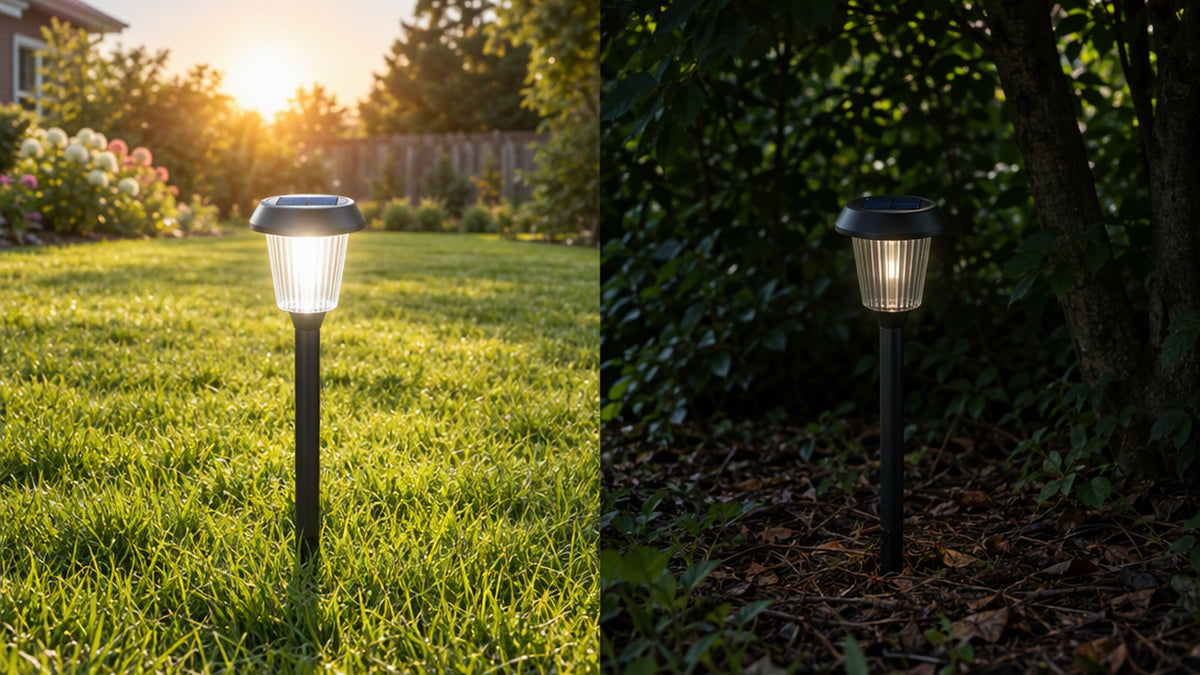
Most complaints about solar lights have nothing to do with the lights themselves. They are about the spot where the lights were placed. A fixture that sits in shade all day will glow weakly for an hour at night, while the same light in a sunny spot may last for hours. If your garden lights seem dim or short-lived, a better location is often the easiest fix. This guide explains how solar lights work, how to find the best placement and how to maintain them for steady performance.
How solar lights actually work
Every solar light has three basic parts: a small solar panel, a rechargeable battery and an LED. During the day, the panel turns sunlight into electricity and stores it in the battery. At dusk, a sensor detects the drop in light and turns the LED on. The more sunlight the panel receives, the more energy is stored, and the longer and brighter the light runs.
That is why placement matters so much. Charging time is the one thing you control entirely.
Step 1: Find your sunniest spots
Spend a day watching your yard. Note which areas get direct sun in the morning, midday and afternoon. Most solar panels do best with several hours of direct, unobstructed sunlight. Southern exposure is usually the strongest in the northern hemisphere, but any open area with long stretches of sun can work.
Remember that the sun moves over the seasons. A spot that is bright in July might sit in the shadow of the house in October. Check again each season if you can.
Step 2: Watch out for common shade traps
- Trees and evergreens. Leaves block more light than you think, and evergreens do it year-round.
- Eaves and porch roofs. Lights tucked under overhangs may get almost no direct sun.
- Fences and walls. They cast long shadows, especially in autumn and winter.
- Nearby artificial light. A porch lamp or street light can fool the sensor into thinking it is still daytime, so the light never turns on.
Step 3: Separate the panel from the light when you can
Some solar string lights and lanterns use a panel on a separate cable or stake. That is a big advantage: the lights can hang in a shady pergola while the panel sits in a sunny corner. If you are choosing between products, consider how flexible the panel placement is.
For example, the outdoor solar string lights 2-pack are 39.4 feet long with 120 LEDs each, so you can drape the strand where you want light and position the panel where the sun is.
Step 4: Angle the panel toward the sun
Panels charge best when they face the sun directly. For stake lights, make sure the panel sits level and is not tilted into the ground or blocked by plants. For hanging fixtures, orient the panel toward the brightest part of the sky. A small adjustment can noticeably improve charging.
For a set of lights lining a path, a pack such as the 12-pack of solar pathway lights works well when each light is placed where it can see open sky, not tucked under dense shrubs.
Step 5: Keep panels clean
Dust, pollen, bird droppings and fallen leaves all reduce the energy a panel collects. Wipe each panel every few weeks with a soft, damp cloth. Avoid harsh chemicals or abrasive scrubbing, which could scratch the surface. In fall, check more often as leaves accumulate.
Step 6: Give new lights a full first charge
When you set up new solar lights, switch them on and let them charge in full sun for a day or two before expecting full performance. Some lights have an on/off switch; make sure it is in the correct position. A fully charged battery will also help you judge whether placement is working.
Troubleshooting dim lights
If a light that used to work well is now weak, check these in order:
- Is the panel dirty or covered by leaves or snow?
- Has a tree, shrub or new structure started casting shade?
- Is the switch on?
- Is a nearby light confusing the sensor?
- Has the battery reached the end of its life? Rechargeable batteries do wear out over time and can often be replaced.
We go deeper into repairs in our post on solar lights not working.
Placement ideas by area
Pathways and driveways
Space lights evenly along the edge, in positions with open sky overhead. Avoid planting beds that will soon grow over the panel.
Patios and decks
Hang strands along railings or beams and position the panel on top of a post or on the roof edge where it can catch sunlight.
Garden beds
Use shorter stakes or hanging lanterns above plant height. Re-check placement as plants grow through the season.
Trees and fences
Wrap or drape lights on the shaded side if you like, but keep the panel up high where it can see the sun.
Cold-weather considerations
As days shorten, the sun sits lower and charge time falls. You may notice shorter run times in winter even with perfect placement. Move panels to the sunniest location you have and clear snow when you can. If your lights seem especially short-lived, consider a seasonal adjustment instead of a replacement.
Choosing lights that fit your yard
Before you buy, think about how much sun the space really gets. Open yards can use almost anything, while shaded yards benefit from lights with a separate panel. Browse our outdoor and solar lights to compare lanterns, stakes and string lights. If you want to add indoor-outdoor sparkle on a covered porch, our string lights and fairy lights offer options that do not depend on sunlight.
Ready to brighten your yard? Shop the Outdoor & Solar Lights collection and put your sunniest spots to work.