
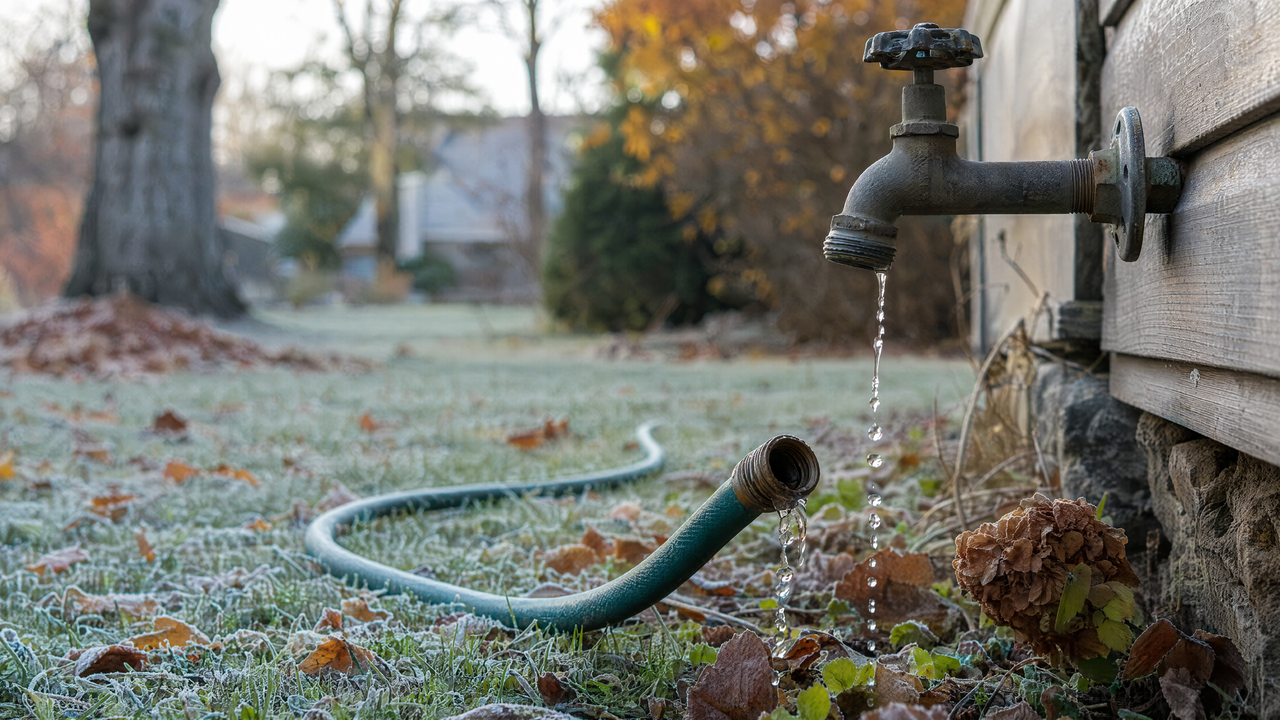
Here's a fall chore with an outsized payoff: fifteen minutes spent winterizing your hoses and spigots can prevent a burst pipe inside your wall — a repair that routinely runs four figures. The physics are simple and unforgiving: water expands about 9% when it freezes, and a hose left connected traps water in the faucet and the pipe behind it. When that freezes, something gives. It's never the ice.
It's only August, but the smart time to learn the routine (and stock any missing parts) is before the first surprise frost — which in northern states can land in late September. Here's the complete process.
Step 1: Disconnect Every Hose — Yes, Every One
This is the single most important step. A connected hose holds water against the spigot, and even "frost-free" faucets can't drain properly with a hose attached. Unscrew everything: hoses, splitters, timers, quick-connect sets. If a connection is stuck after a season of sun and grit, grip the fitting (not the hose) with pliers wrapped in a cloth, or soak the joint with penetrating oil for ten minutes. Stubborn corrosion on cheap stamped-metal fittings is exactly why we recommend solid brass — more on that below.
Step 2: Drain the Hoses Completely
Stretch each hose out on a slope if you have one, or walk it: lift one end shoulder-high and move down the length hand over hand, pushing the water column ahead of you to the far end. A hose with a cup of water left inside can split at the fold when it freezes. Spray nozzles and wands should be opened mid-drain so trapped water behind the valve escapes too.
Step 3: Coil Loosely, Store Off the Ground
Coil each hose in wide loops — about three feet across — following its natural curl. Tight coils and sharp folds become permanent kinks by spring. Hang coils on a wide hook or lay them flat in a garage, shed, or basement; concrete floors in unheated sheds get cold enough to make vinyl hoses brittle, so a shelf or hook beats the floor. Never store a hose under tension or hanging on a nail (the single-point pressure creates a weak spot).
Step 4: Strip and Inspect Your Fittings
Fall is fitting-audit season. Unscrew nozzles, splitters, shut-off valves, and quick-connects, and give each one thirty seconds:
- Rubber washers: pull them out and check for cracks and compression. Washers are pennies each — replace any that look tired and you've pre-solved next spring's mystery drips. (Our leaky hose connection guide covers the full diagnosis.)
- Valves: open and close shut-off valves a few times; store them in the open position so the seal isn't compressed all winter. A quality solid brass shut-off valve will do this for a decade — the pot-metal ones are usually seized by year two.
- Quick-connects: rinse grit out of the locking collars, and store male and female halves connected so the internal springs stay clean. If this is the year you finally upgrade to snap-together connections, a 3/4-inch quick connector set with spare washers makes both fall teardown and spring setup a two-minute job.
Store all the small parts in one labeled bin or zip bag. "Where did the splitter washers go" is the official first frustration of every spring.
Step 5: Deal with the Faucet Itself
With hoses off, let the spigot drip out fully. If your home has an interior shut-off valve for exterior faucets (usually in the basement or crawl space near the wall), close it and then open the outdoor faucet to drain the line — that combination is bulletproof. No interior shut-off? An insulated faucet cover (a few dollars at any hardware store) buys real protection for standard spigots. Frost-free faucets still appreciate a cover, and still require the hose to be disconnected to work as designed.
Step 6: Don't Forget the Irrigation Extras
Hose timers hate frost — remove batteries and bring them inside. Drip lines and soaker hoses should be drained and stored out of sunlight. Sprinklers shed water easily but store better dry. If you built a multi-zone setup like the one in our hose splitter guide, photograph the arrangement before teardown so spring reassembly is paint-by-numbers.
The Spring Payoff
Done right, spring startup is: carry hoses out, snap connections together, turn on the water, zero leaks. No cracked hoses, no seized splitters, no mystery drips, no plumber. Fifteen minutes in the fall is the cheapest insurance in home ownership.
Missing a washer, valve, or connector? Restock now — the full range of brass fittings, splitters, and quick-connects is in the Garden Watering & Hose Fittings collection.