
Solar pathway lights are one of the few outdoor upgrades that pay off the same evening you install them — no electrician, no trenching for wire, no monthly cost. But "stick them in the ground" isn't quite the whole story if you want even, reliable lighting instead of a walkway with a few bright spots and a lot of dark gaps. A little planning on spacing and placement makes the difference between lights that actually guide someone down a path at night and lights that just look nice during the day.
Why Solar Pathway Lights Are Worth the Five-Minute Install
Each light has its own solar panel and battery, so there's no wiring to run and no transformer to size. That also means each one is independent — if you place them well, you get even coverage; if you don't, you get uneven pools of light with awkward dark stretches in between. Since the whole appeal is how easy these are to install, it's worth spending a few extra minutes getting the layout right the first time.
What You'll Need Before You Start
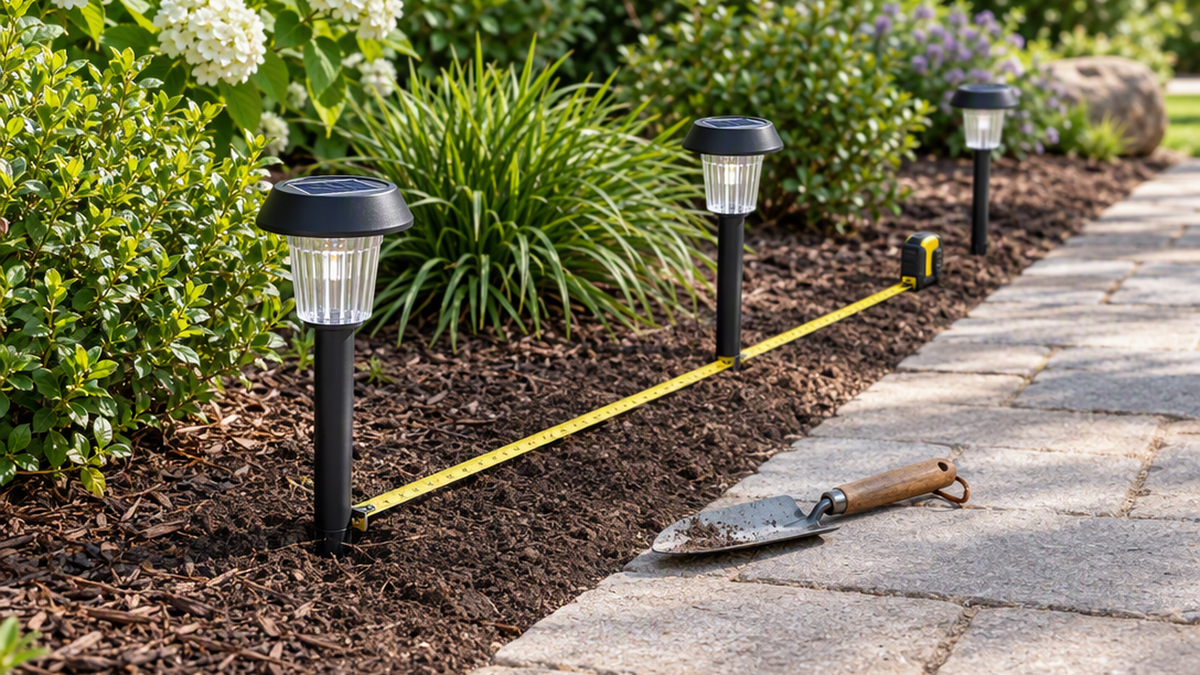
Beyond the lights themselves, keep it simple: a tape measure or a length of string for spacing, and a trowel if your soil is compacted or rocky. Most solar pathway lights, including solar pathway light sets designed for patios, yards, and driveways, come with ground stakes built in, so no tools are strictly required for average soil.
Step-by-Step: Installing Solar Pathway Lights
1. Charge them before you plan your layout
New solar lights usually ship with a pull-tab over the battery or the panel covered by a sticker. Remove it and let each light sit in direct sun for a full day before installing, so you can actually see how bright they are at night rather than guessing based on a half-charged battery.
2. Measure your run and plan spacing first
Walk the path and measure its total length before you place a single stake. For most walkways, spacing lights 6 to 8 feet apart on alternating sides creates even coverage without looking like a runway. Driveways and longer stretches can go up to 10 feet apart since the goal there is orientation, not close illumination. Tight, symmetrical spacing on both sides looks formal; staggered spacing on alternating sides tends to look more natural for garden paths.
3. Choose placement over exact measurements
Spacing math is a starting point, not a rule — adjust it for what's actually there. Put a light at every turn, step, or change in grade first, since those are the spots where guests most need the visual cue, then fill in the straight stretches between them.
4. Push stakes into soil, not mulch
A stake seated only in loose mulch will lean or tip after the first heavy rain. Push through the mulch layer into the soil underneath, and firm the ground around the base with your hand. In compacted or rocky soil, use a trowel to open a starter hole rather than forcing the stake and risking a cracked base.
5. Test at dusk and adjust
The only real test is watching the path light up after dark. Walk it the first night and note any lights blocked by overhanging plants, any gaps that feel too dark, or any spot where a light is shining into a window instead of down at the ground — solar stakes are easy to reposition, so treat the first install as a rough draft.
Spacing by Area
A narrow garden path reads best with lights every 4 to 6 feet, close enough that the light pools slightly overlap. A driveway or long side yard can stretch to 8 to 10 feet since the purpose is marking the edges rather than lighting every inch. Patios and seating areas often do better with fewer pathway lights and more perimeter or accent lighting instead, since too many ground-level stakes can clutter a space meant for sitting rather than walking through.
Common Mistakes to Avoid
The most common issue isn't a defective light — it's placement in shade. A stake tucked under a porch roof, a tree canopy, or up against a fence that blocks afternoon sun will never charge fully, no matter how new it is. Check each spot for at least a few hours of direct sun during the day. The second common mistake is spacing everything perfectly evenly and ignoring the actual terrain, which often leaves the steps or turns — the places light matters most — underlit.
Layer in Accent Lighting
Pathway stakes handle the walking surface, but pairing them with taller accent pieces adds depth instead of a flat row of dots along the ground. Hanging solar lanterns on shepherd hooks placed near a porch, garden bed, or seating area bring the light up to eye level and give the space a warmer, more finished look without adding any wiring.
Ready to Light the Path?
A well-spaced set of pathway lights takes less than half an hour to install and keeps working for years with zero electricity cost. Browse our full range of solar pathway and landscape lights to find the right style and brightness for your yard, porch, or driveway.