
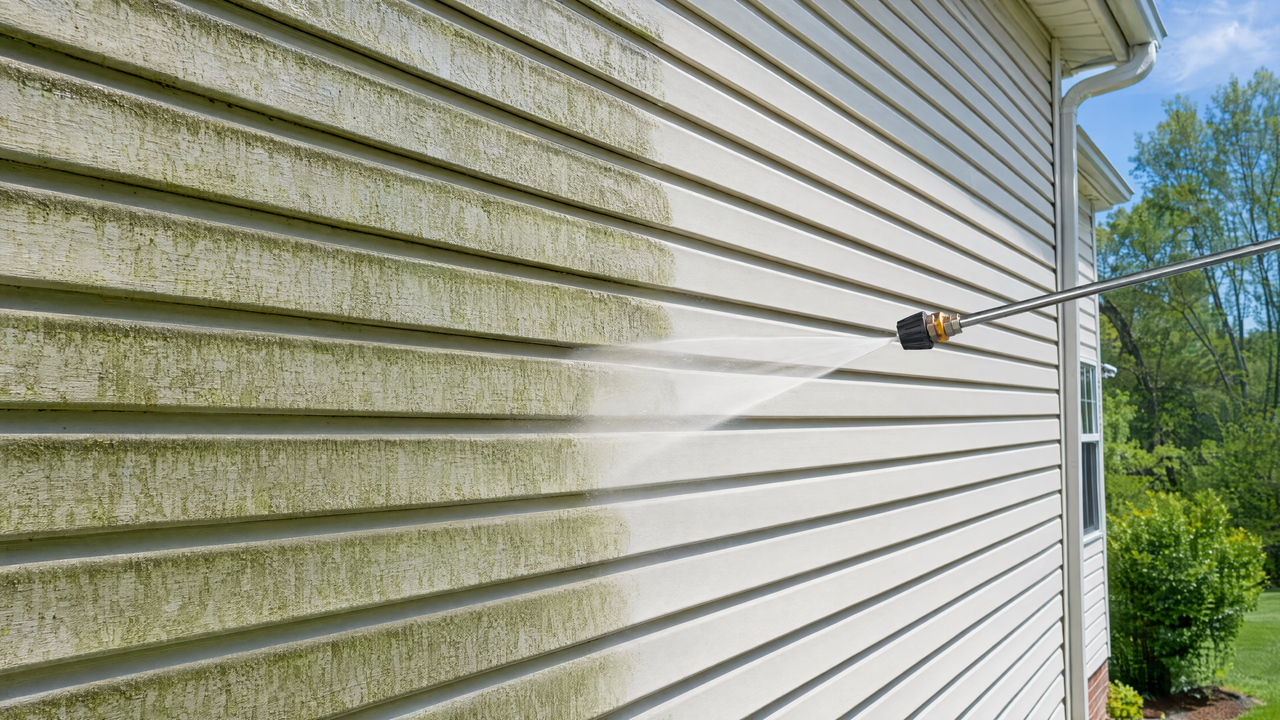
By late summer, the north side of most vinyl-sided homes has grown a faint green film of algae, and the rest carries a season of dust, pollen, and cobwebs. A pressure washer removes all of it in an afternoon — but vinyl is also one of the easiest surfaces to damage if you blast away carelessly. Water forced behind the panels causes mold and rot you won't see for years. Here's how to get the like-new finish without the hidden damage.
Why Vinyl Needs a Gentler Touch Than Concrete
Vinyl siding is designed to shed rain falling downward — not a 2,000 PSI jet aimed up into the panel laps. The three rules that follow from that:
- Never spray upward. Point the wand straight-on or slightly downward so water runs off the way rain would.
- Keep the pressure moderate. 1,300–1,600 PSI is plenty for siding. If your machine is stronger, compensate with a wider nozzle and more distance.
- Let the cleaner do the work. Algae and oxidation release with detergent and dwell time, not brute force.
What You'll Need
- Pressure washer (electric models around 1,600 PSI are ideal for siding)
- White 40° nozzle for rinsing, black soap nozzle for applying cleaner
- House wash detergent or a mix of water and oxygen bleach for algae
- Garden hose supply with a solid, leak-free connection
- Plastic sheeting for light fixtures and outlets
Check your connections before you start: a worn coupling between the garden hose and the pump inlet costs you pressure and soaks your feet. If your setup fights you every time you switch guns or hoses, a quick disconnect adapter kit converts M22 threads and garden hose fittings to push-and-click connections — one upgrade that makes every future job faster. You'll find washers, O-rings, and replacement couplings in our pressure washer parts and accessories collection.
Step 1: Prep the Area (10 Minutes That Prevent Headaches)
Close all windows. Cover exterior outlets, light fixtures, and the AC unit with plastic and painter's tape. Move grills and furniture away from the wall, and wet down any plants below the work area — pre-soaked leaves shed detergent instead of absorbing it. Walk the wall once and note any cracked panels or gaps; skip those spots or you'll drive water behind the siding.
Step 2: Apply Detergent From the Bottom Up
Counterintuitive but correct: soap goes on bottom-to-top. Applying upward prevents clean streaks from running down through dry grime, which leave permanent-looking stripes. Use the soap nozzle, work in sections about 10 feet wide, and let the detergent sit for 5–10 minutes. Don't let it dry on the siding — on hot days work smaller sections or wash the shady side first.
Step 3: Rinse From the Top Down
Switch to the 40° nozzle, start at the top of the section, and rinse downward with smooth, overlapping horizontal passes. Hold the wand 12–18 inches from the surface, angled slightly down. If a stubborn algae patch won't release, step closer by a few inches — don't switch to a narrower nozzle. A 15° or 0° tip will scar vinyl at close range.
Step 4: The Details That Separate Good From Great
- Gutters and soffits: Wipe, don't blast. Spraying up into soffit vents pushes water into the attic.
- Around windows: Reduce pressure and keep extra distance — window seals are the most fragile thing on the wall.
- Ground-floor rinse: Finish each section with a quick pass along the bottom edge where soap collects.
How Often Should You Wash Vinyl Siding?
Once a year keeps most homes bright; twice (late spring and early fall) if you're shaded, near trees, or in a humid climate where algae returns quickly. An early-fall wash right now is well-timed — you clear off summer's buildup before the wet season, and the house looks sharp for holiday decorating.
When Not to Pressure Wash
Skip the pressure washer if panels are loose, cracked, or older and brittle — a soft wash with a garden hose, a long-handled brush, and the same detergent gets you 90% of the result with zero risk. And never wash from a ladder; use an extension wand or telescoping brush from the ground.
Gearing up for the job? Everything from replacement nozzles to adapters and couplers is in the pressure washer parts and accessories collection — get the connections right and the washing part is easy.